Facilitation, Trainer's Skills

Miro features I wish I knew sooner (as a facilitator)

Miro features I wish I knew

A trainer’s guide to the Miro tools and shortcuts that make your boards more engaging and your facilitation smoother

(If you are brand new to Miro, start with the Step-by-Step Facilitators' Guide to Discovering Miro first. If you already know the basics, keep reading.)

When I started building boards in Miro, the boards worked well. Participants followed the instructions, and things got done. But there was always a restless feeling in the background - I knew this tool has so much more potential to make sessions way more engaging, smoother and memorable.

The tricky part was not to build the boards. It was exploring and discovering new features - on one side, every time I opened Miro to play with a new feature, I got pulled in three directions at once. There is always one more thing to click, one more template to look at, one more shortcut someone mentioned in passing. It got overwhelming fast.
On the other hand, there were amazing features there for which for a long time I didn’t know they existed, until I stumbled on them accidentally. 

So, with this article, I want to spare you that trouble. 

Below are the Miro features and shortcuts that genuinely changed how I feel working with Miro as a facilitator. Each one is short. Each one stands on its own. You do not have to read this article in one go.

Take your time to explore them without rush or FOMO. Try one. Come back for the next.

These are features that make your sessions more interactive, more playful, more visually rich. And that feel a bit like discovering hidden treasure on a tool you thought you already knew.

They are the ones I wish I had known sooner.

Miro features for engagement

The ones that get participants doing, voting, choosing, contributing. Actively.

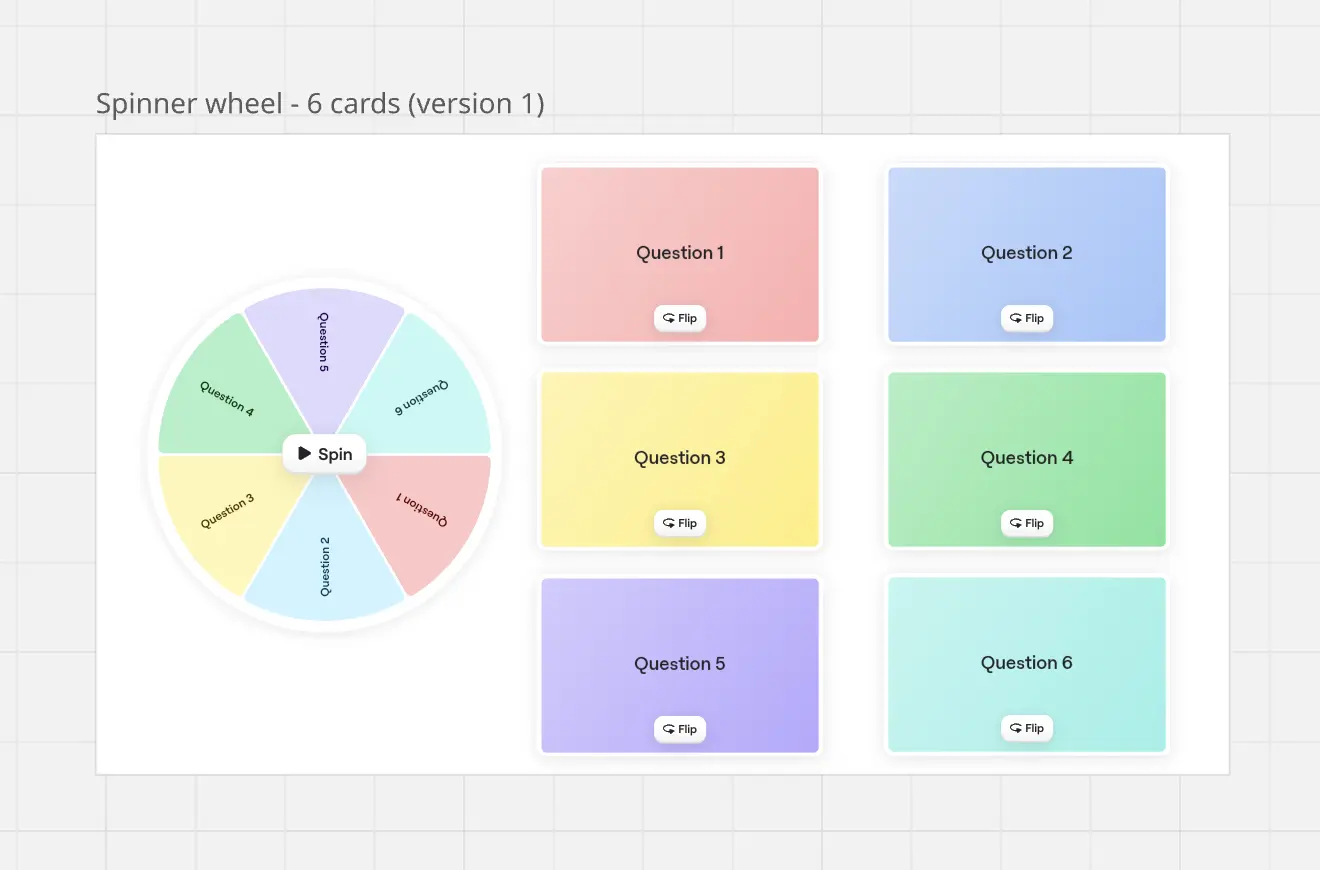
  • Spin wheel - a simple but delightful tool for picking random names, order in which people present, assigning groups, or adding a little playful surprise to an activity.

(If you want to build an activity combining spin wheel with flip cards, so you could use longer questions that what fits the spinwheel, definitely check out Trainers Toolbox Miroverse Icebreaker Spin Wheel template)

spinner wheel cards
  • Dot voting – the built-in voting session is great for prioritization and group decisions.
  • Interactive sticker voting – a more playful alternative for voting. With interactive stickers, whoever clicks on one casts a vote. A much more playful feel than a formal vote.
  • Flip cards – useful for building a bit of surprise and suspense, reflection prompts, quizzes, or any moment when you want a bit of suspense and active participation.

Use case example (and a template you can use):
Using Spin wheel & flip cards to build community connections

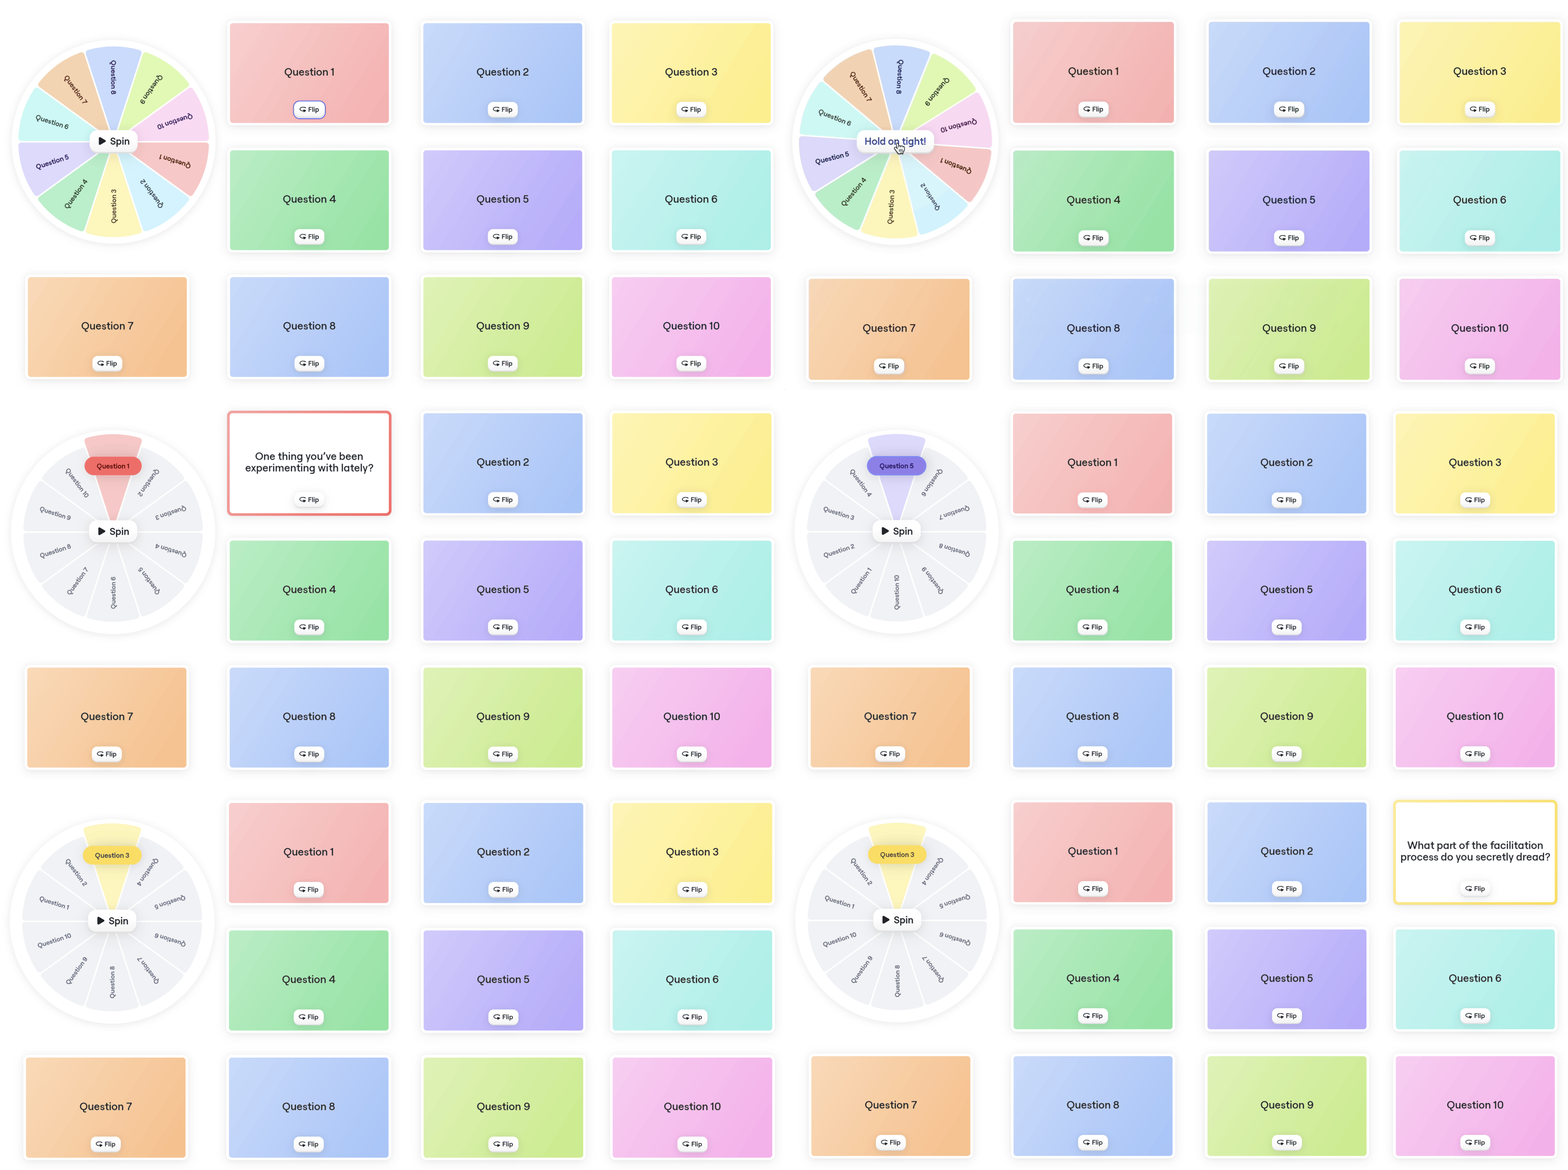
This is one of my favourite game elements (and participants love it!) we use in Trainers Conversations - a spin wheel paired with flip cards, with a diverse question on each of the flipcards.

We use it in breakouts for 1:1 connections between community members.
Each breakout pair gets its own spin wheel and its own set of flip cards. They spin the wheel, and then they flip the matching card to reveal the question.

This is just one idea of how these features can be used. You could use it for many other things. When questions you wish to share in random order are a little too long to add directly to a spin wheel. When you want to add an element of randomness & fun. Or when you do not want to uncover all the questions at the same time.

Discover Miroverse template that you can use if you would also like to use this activity: Icebreaker Spin Wheel template

spinner wheel 3 questions

(If you like this template, please be so kind to like it and share it with others, as it is one of the first templates we built on Trainers Toolbox for Miroverse.)

What are your ideas on how to use this template?

Miro features for reflection and ideation

The ones that make individual thinking easier, before bringing things back to the group.

  • Private mode - when you want participants to write on stickies without seeing what others are writing until private mode ends. Keep in mind: you can leave the inputs anonymous forever, or just until the end of the Private mode activity, but be careful to plan this ahead. And if you ever need to see who wrote what on a specific sticky, right-click it to show the author (it will only work if people are logged in!).
  • Digitize handwritten stickies - when combining live workshop and online bits in Miro (or if you are running a hybrid session with people both in the room and online), participants can write on real sticky notes, snap a photo, and in the Miro phone app you can import them as digital stickies. (It works really well - but only on the phone!)

Miro features for efficiency

The ones that save you time and make your facilitation flow smoothly.

  • Miro AI - Miro's AI has many uses for facilitators. For example, clustering sticky notes into themes, or extracting insights from a board into a structured document. Super useful for closing out a brainstorm or retrospective without manually sorting everything. (Heads-up: which AI features you get depends on your Miro plan, so it's worth checking what's available on yours.)
  • Count votes and objects with filter - this one is game changer! After a vote, select the object on which you added dot votes, together with those dots (it is just important that you select at least one object that is not the dot vote!). You will see the mini menu showing right above that object, and you can use Filter in that menu to quickly count number of dot votes, or any tagged objects on the board. Saves the awkward squinting and manual counting dots when the room is waiting for you.
  • QR code generator - a really easy way to link people to resources, external forms, or to connect Miro Engage sessions.

Miro Keyboard shortcuts worth knowing

Hit F1 in Miro and it will show you all the available shortcuts. Some are really worth a look.

The ones I keep coming back to:

  • N - new sticky
  • D - duplicate any selected content (this one is worth trying right now)
  • F - new frame
  • Tab - when you are writing on stickies for a quick brainstorm, hit Tab to move straight to a new sticky
  • Spacebar + mouse - hold spacebar and drag to move around the board easily. The trick beginners always wish they had known earlier.

Two more efficiency moves worth your attention: customizing toolbar & placing timer on the board

The toolbar on the left is customizable. You can drag the features you use most often to the top, so they are always one click away. Small thing, big difference once you set it up.

And you can place the timer or private mode as buttons directly on the board. Once they are on the board, participants can start them themselves. No need to wait for the facilitator. Useful for self-paced exercises and for handing over control mid-session.

Miro features that make your boards look polished & more “yours” (and make life easier)

These are the ones that quietly upgrade how your boards look - and save you fiddling time.

  • Smart shapes - draw a rough shape, and Miro recognises it and snaps it into a clean one. Quick way to build flows and diagrams without breaking facilitation flow.
  • Alignment - select a few objects and look in the menu (the one you get when you select any object) for alignment options. Worth a proper exploration, as it contains many powerful options!. It is the difference between a board that looks rushed and one that looks intentional.
  • Copy style - copy the style of any object and apply it to another. The fast way to make a board feel visually consistent without manually setting colour, font, and weight every time.
  • Masks and background removal - quickly turn a photo into a circle, a square, or another shape. Great for headshots, icons, anything you want to look styled rather than dropped in. While you are there, also try remove background - it is shockingly easy and makes images look ten times more polished.
    Extra tip: you can drag an image straight from another browser tab (a LinkedIn profile photo, for example) onto your Miro board and apply a mask to it immediately. From random snapshot to finished element in two seconds.
  • Brand colours in your Miro palette - Miro lets you save custom colours so your boards stay visually consistent with your brand. A small touch that makes your boards look more polished and 'yours'.

Miro Engage: Making interactions easy

Miro Engage is the one I reach for when I do not want participants on the board itself and when I just want them to interact with me through a link and a QR code, without onboarding them onto Miro. And especially if I don’t want them snooping around the rest of my board. 🙂

You can integrate Engage with slides, but you can also embed it inside an interactive board if you simply add it to a frame rather than a slide. That is the part most people miss.

The features I use most often in Engage:

  • Word cloud - great for a check-in. I will ask people for one word (e.g. an association with the topic) and the cloud builds in front of everyone.
  • Open questions - when I want a bigger pool of meaningful input in a short time. In storytelling sessions, for example, I ask people to share one of their favourite stories that way. Quick to collect, rich to work with.
  • Poll - for simple voting. Fast, clean, no fuss.
  • Ranking - I have not used this one much yet, but it is on my list to try. If you have best practices what you use for, oh do let me know via Linkedin

The Engage team is very active and keeps launching new features often. Worth checking the Miro Engage page every now and then to see what is new.

(One thing to keep in mind: Miro Engage is now part of the Business plan, so you'll need to be on that plan to use it.)

How to bring these into your next workshop

That is a lot of features. So here is what I would do: pick one.

Just one. The one that made you go oh, that would be useful while you were reading. Open Miro after this. Try it on a low-stakes board first. Then bring it into your next real session.

One feature, used well, beats five features used clumsily. And once it is in your hands, the next one will be much easier to add.

If you haven't decided yet, consider more features in this article: How to Facilitate Better with Miro: A Practical Guide for Trainers and Facilitators.

And if you are still finding your way around Miro itself, the Step-by-Step Facilitators' Guide to Discovering Miro is the right next read.

Going deeper with making your sessions more engaging and impactful

Miro is a wonderful tool. But a meaningful session is about much more than the tool. It is about the design, the delivery and the emotional arc you build for your participants.

If that is the layer you want to grow into, here are three places to go next:

Train the Trainer - my flagship certification programme on workshop design and delivery. You'll learn through practice where Miro fits in, how to design sessions that actually work, and how to lead them with confidence.

Emotional Journey Design - Miro features make sessions more engaging on the surface. Emotional Journey Design teaches you to design the deeper layer - the emotional arc - that makes learning actually stick.

Trainers Conversations - the community where we keep growing, learning, and exchanging with other trainers and facilitators (and yes, where the spin wheel and flip card setup actually lives).

Which feature are you going to try first? I would love to hear! 

And if you have any feedback or wishes for future articles on this topic to share, I would love to hear them! Best way to reach me is via Linkedin or contact form.

author-avatar

About Mirna Šmidt

Trainer & facilitator with 18+ years of experience. Founder of Trainers Toolbox & Happiness Academy. On a mission to help trainers create deep, science-based learning experiences that actually stick. Let's connect on LinkedIn: https://www.linkedin.com/in/mirnasmidt/